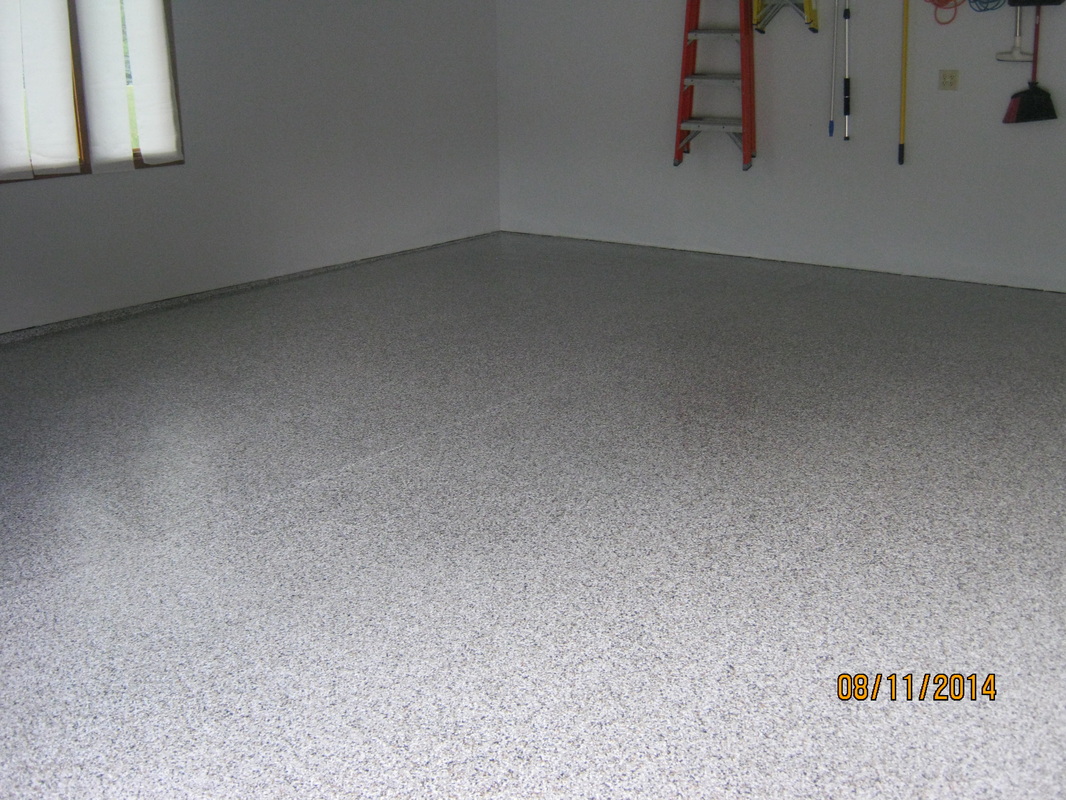
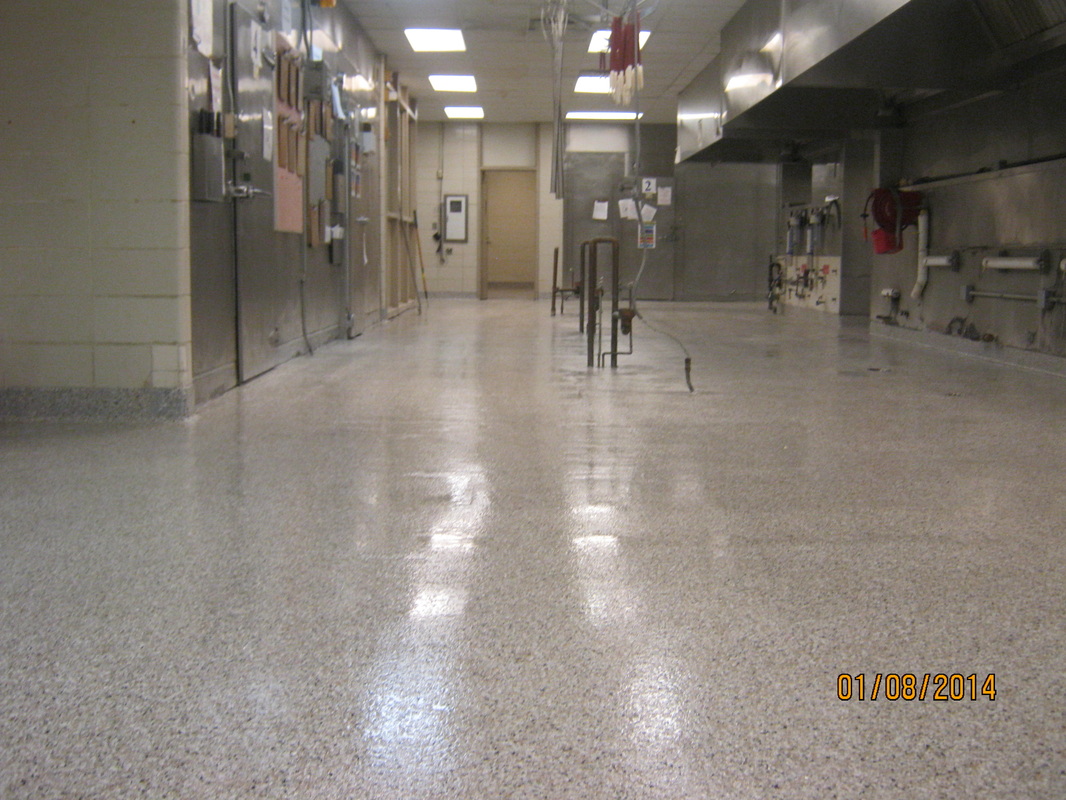
WE INSTALL EPOXY FLOORS!
Our epoxy floor installation has four steps.
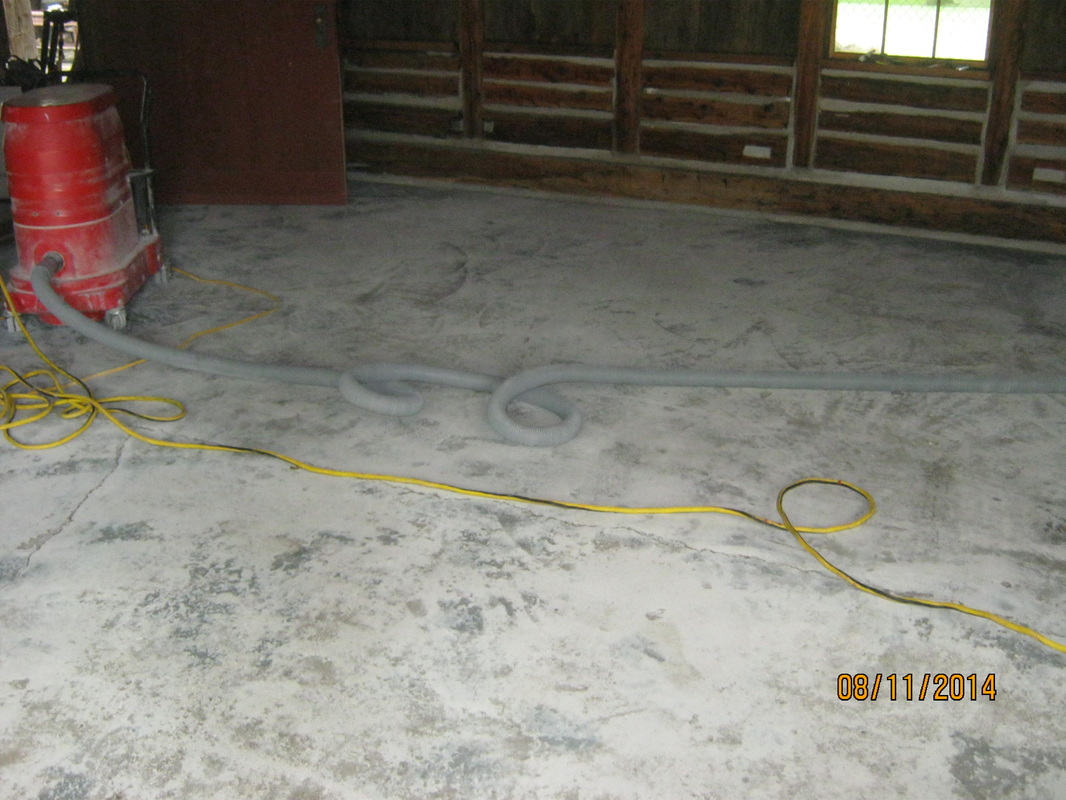
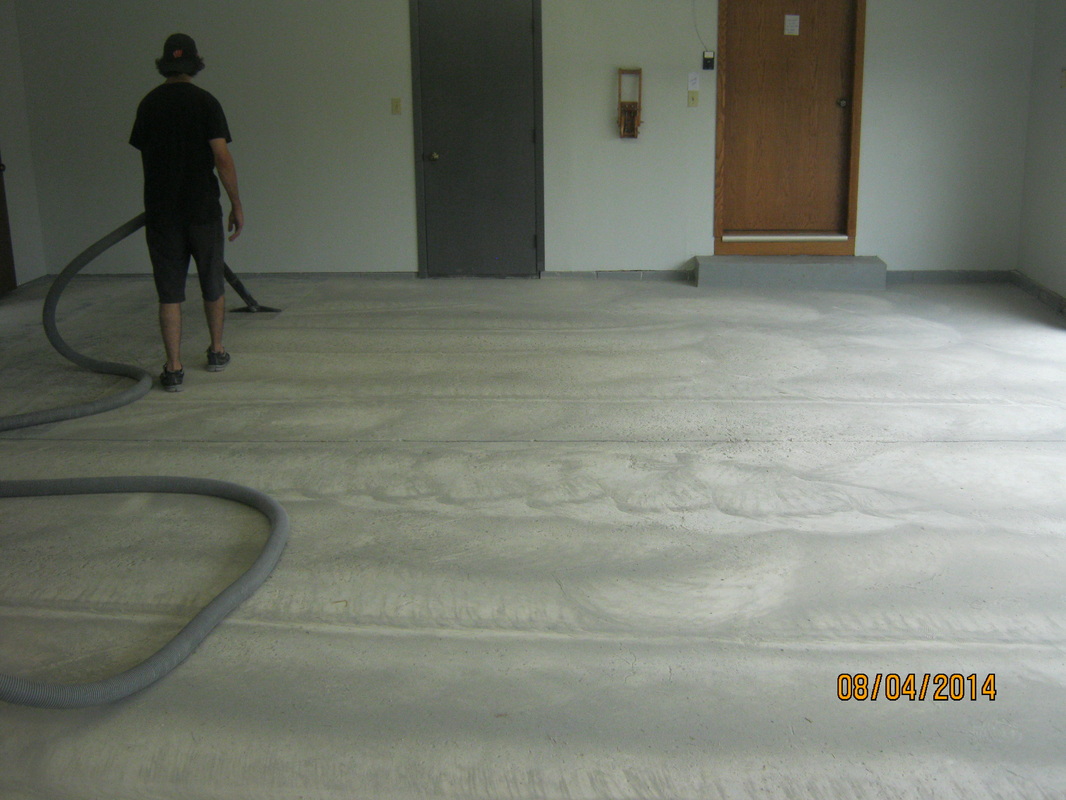
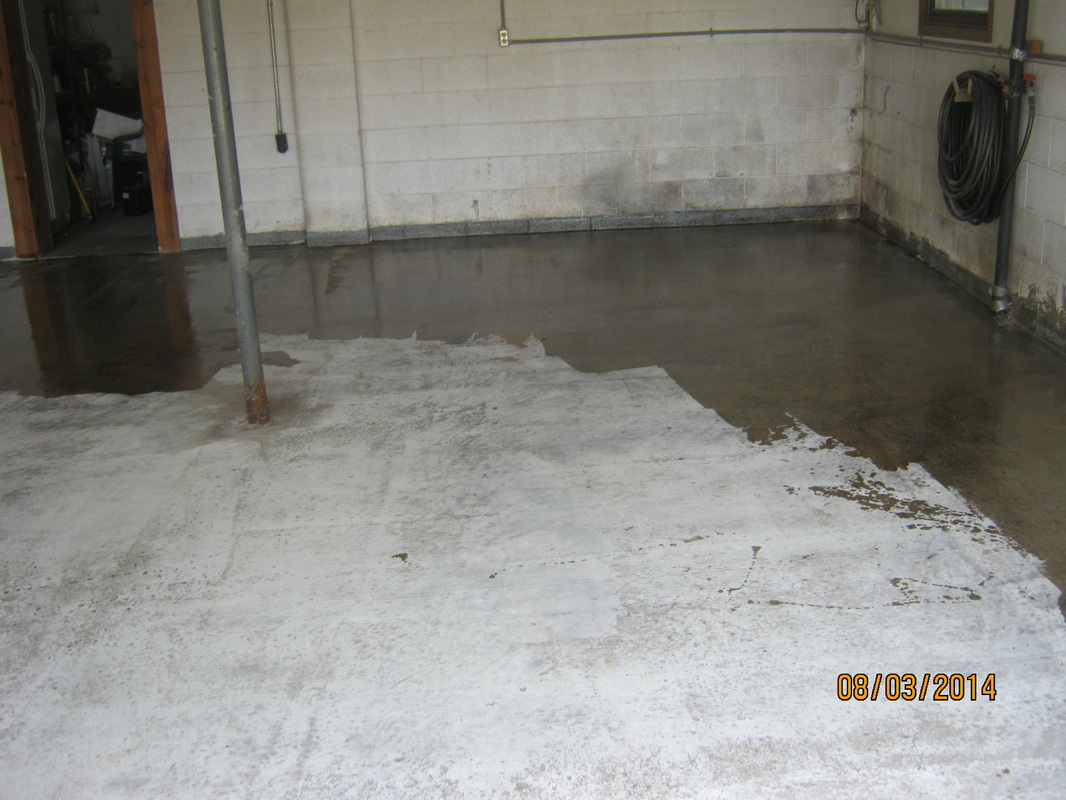
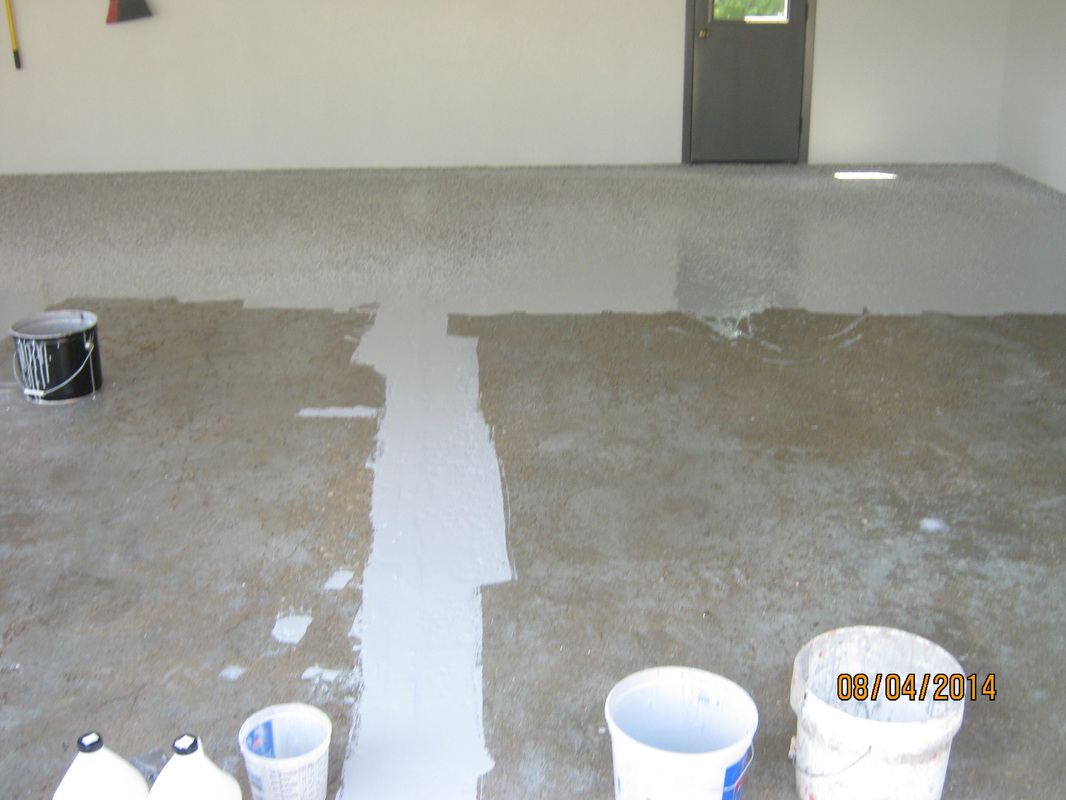
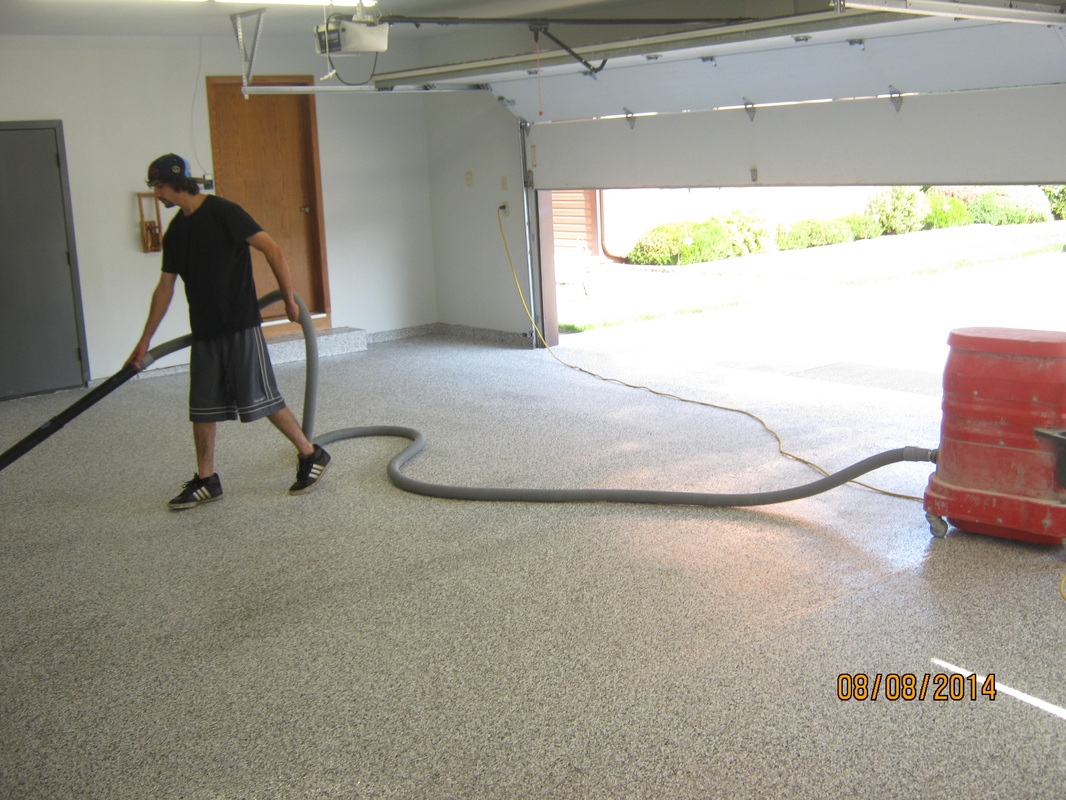
Day 1: Grind the floor with a diamond-head grinder in preparation for the primer we will use this first day. Our grinder features its own HEPA filter for a dust-free environment at this stage. Grinding the floor before installing the epoxy floor opens up the pores for a good bonding surface. When the concrete floor is properly prepared, we put down a coat of epoxy primer.
Day 1: Grind the floor with a diamond-head grinder in preparation for the primer we will use this first day. Our grinder features its own HEPA filter for a dust-free environment at this stage. Grinding the floor before installing the epoxy floor opens up the pores for a good bonding surface. When the concrete floor is properly prepared, we put down a coat of epoxy primer.
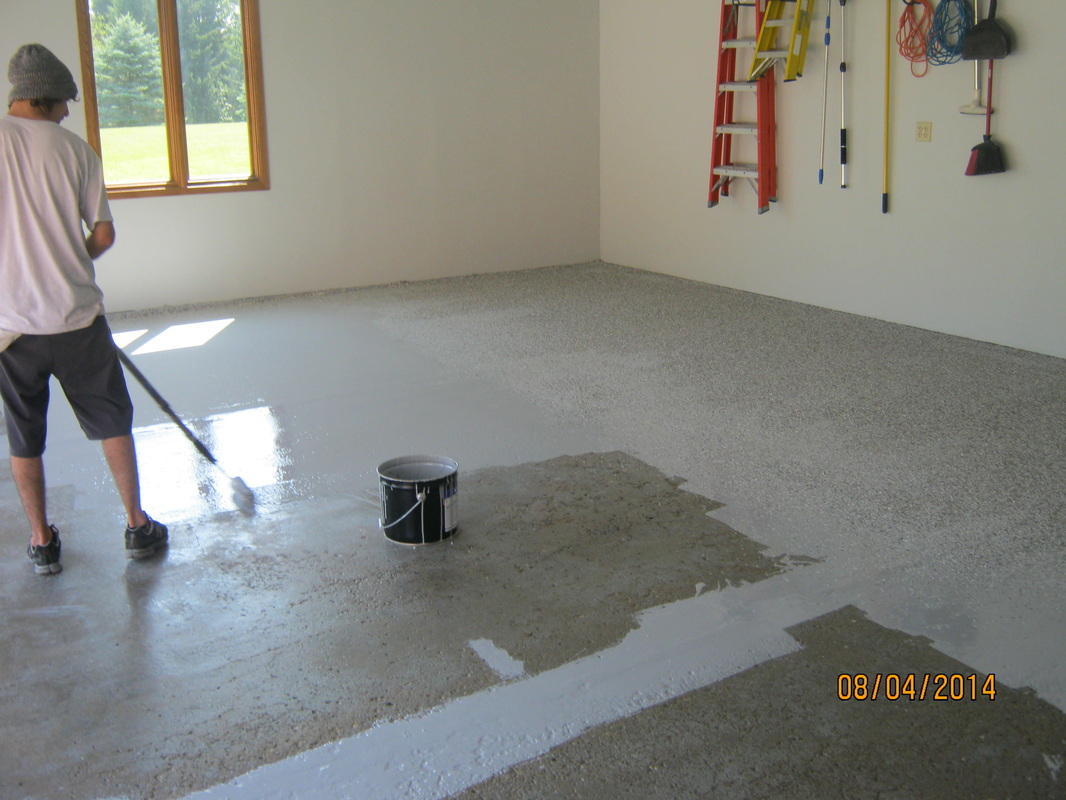
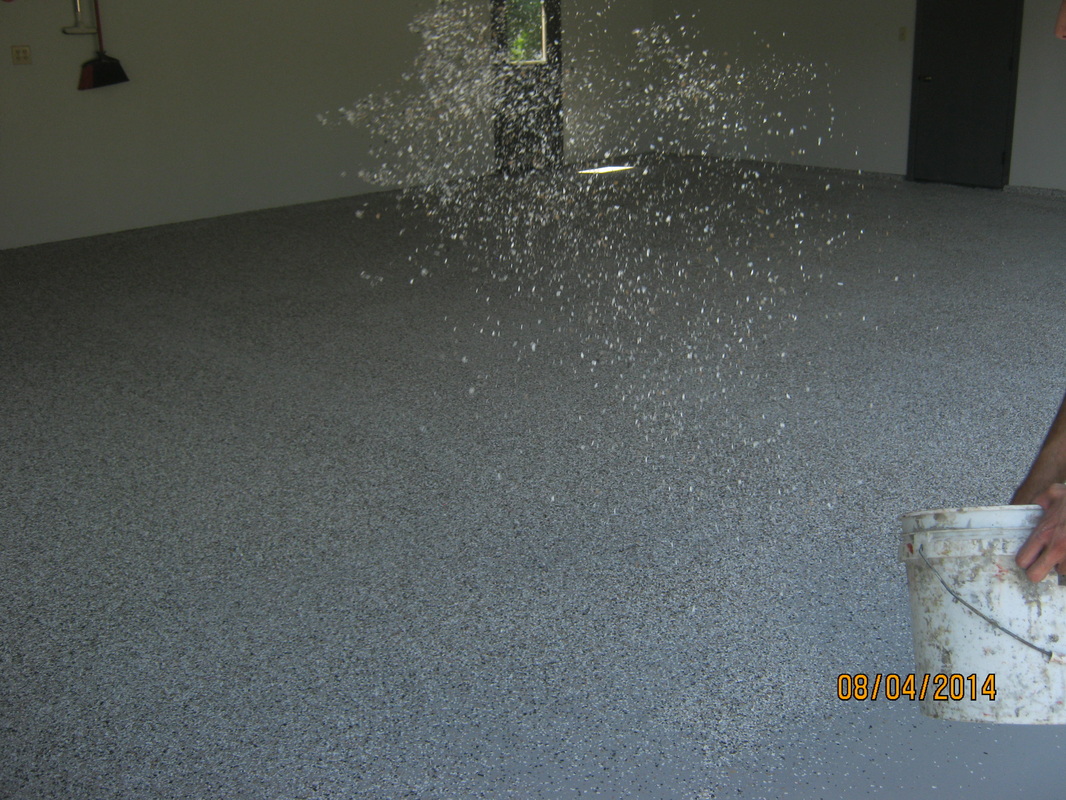
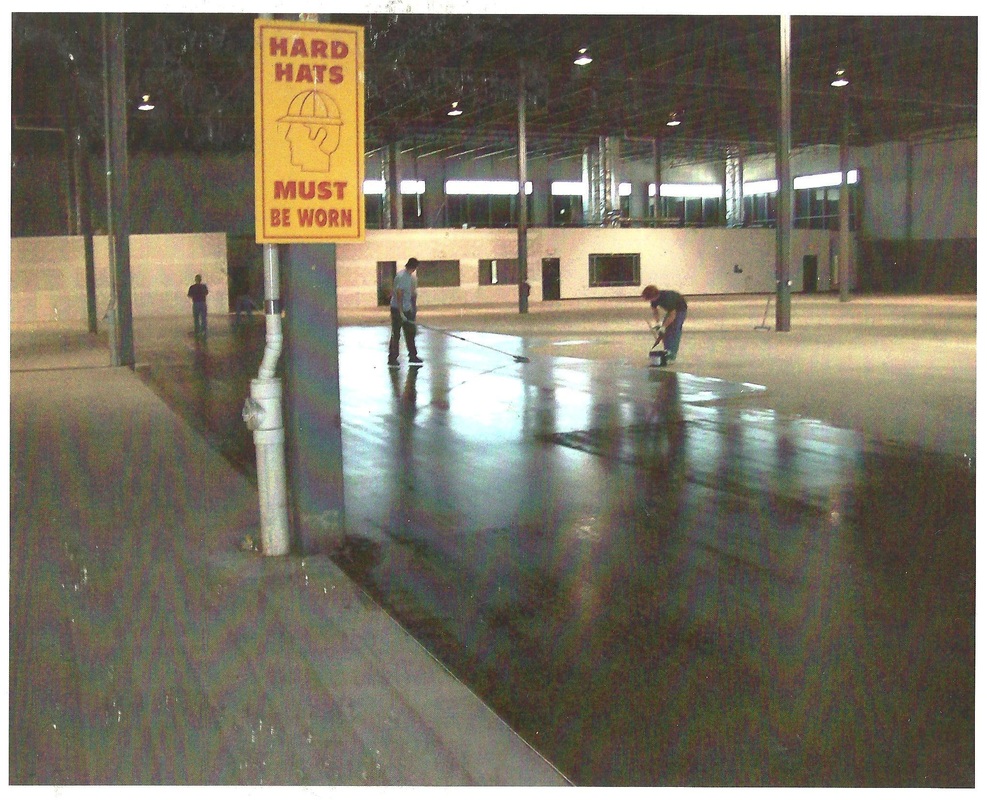
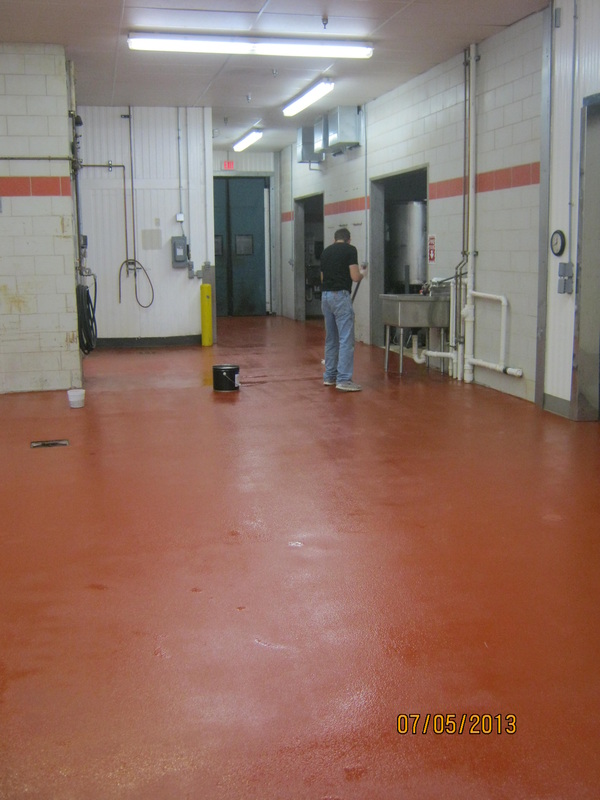
Day 2: Repair any damaged areas with high-quality materials to ensure the best possible floor you can get. Then, a base coat of 100% solids epoxy is applied along with a broadcast of your chosen synthetic chip color.

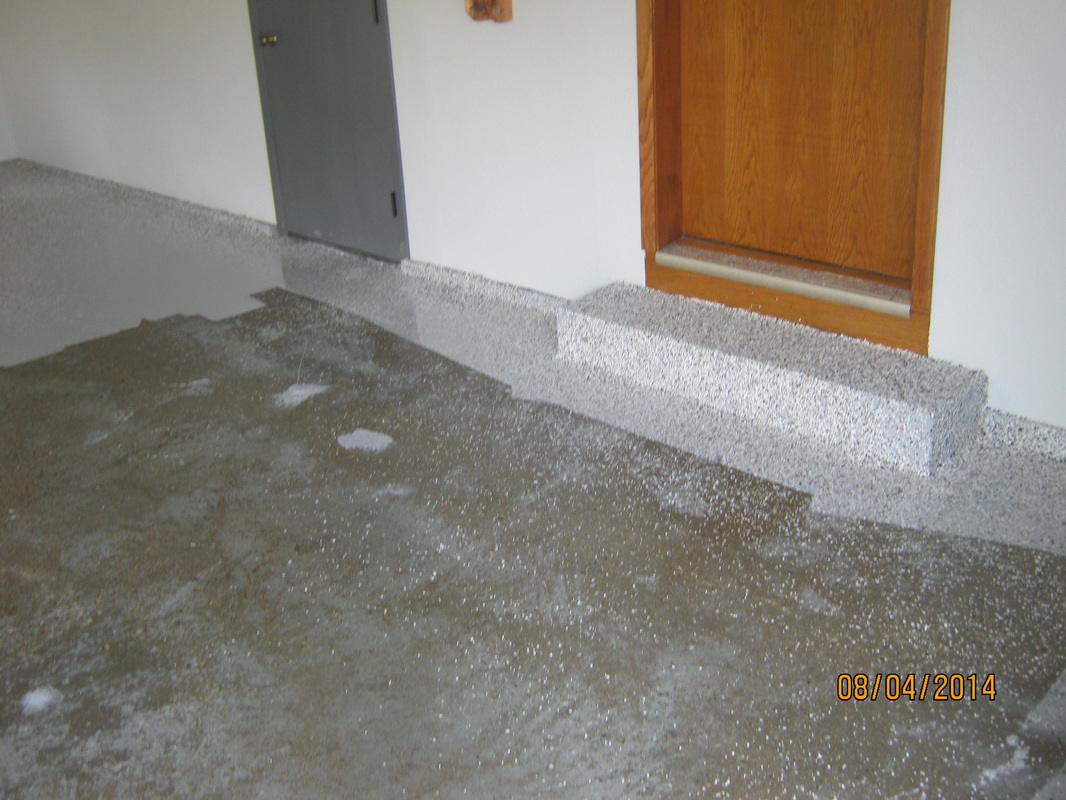
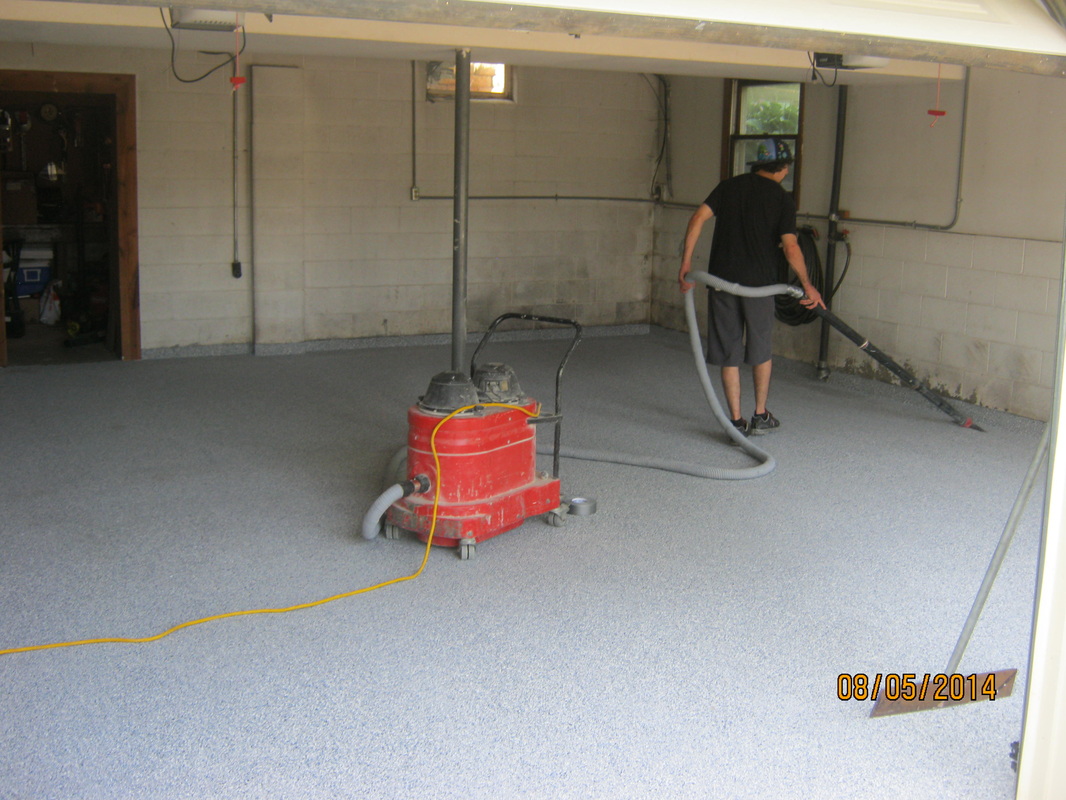
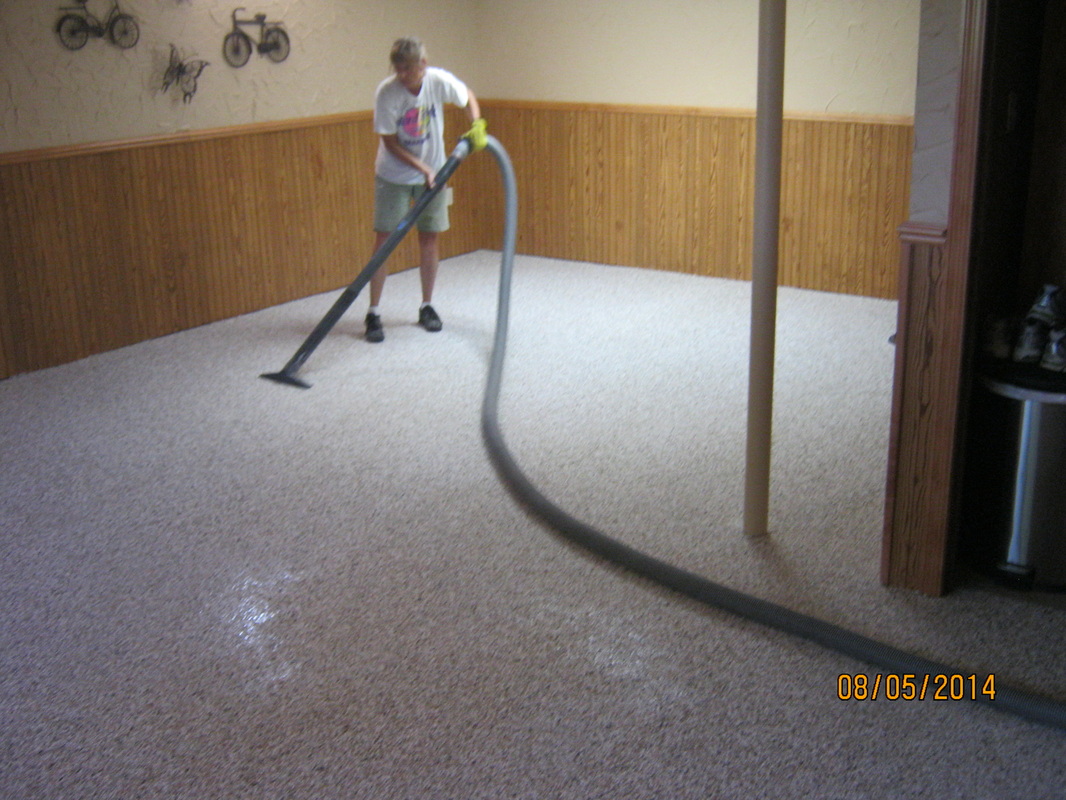
Day 3: We vacuum off the excess chip from your floor, inspect for any further damage repair, then install a coat of clear epoxy.
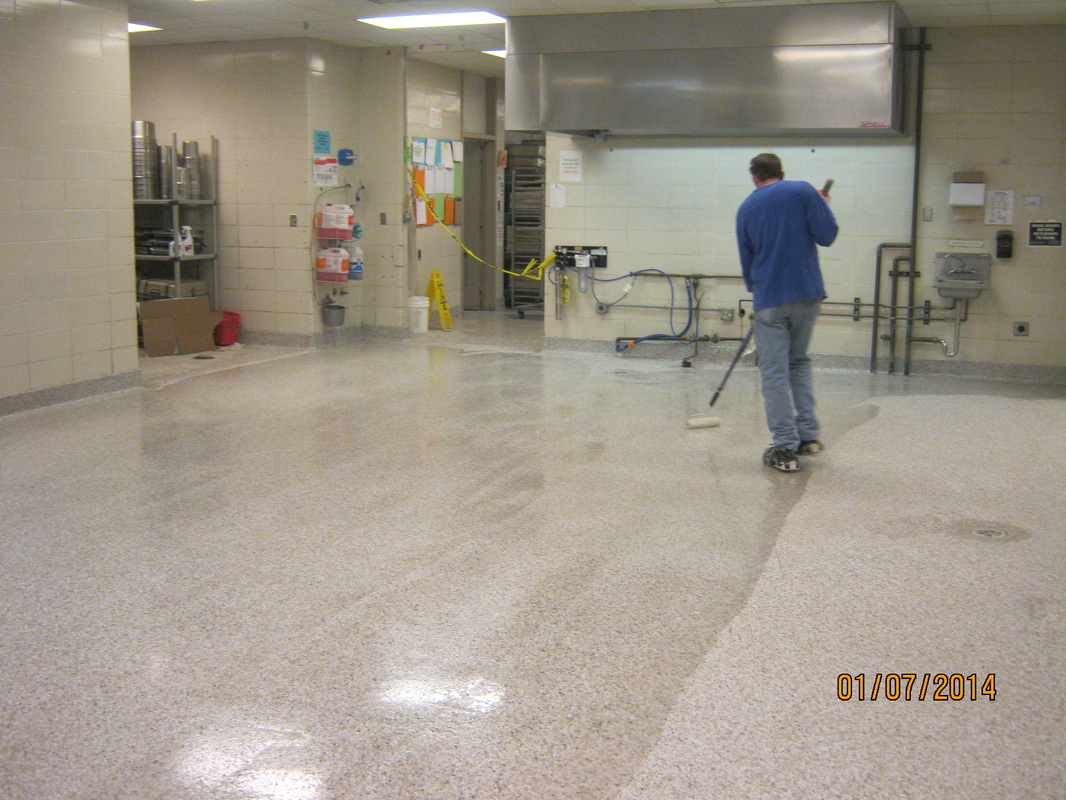
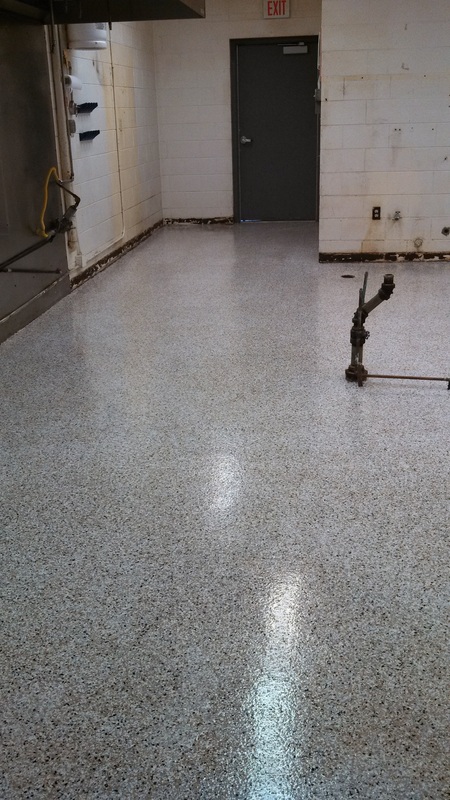
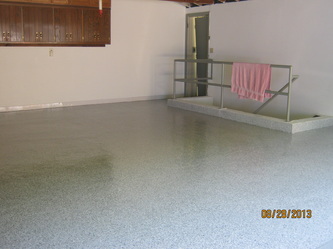
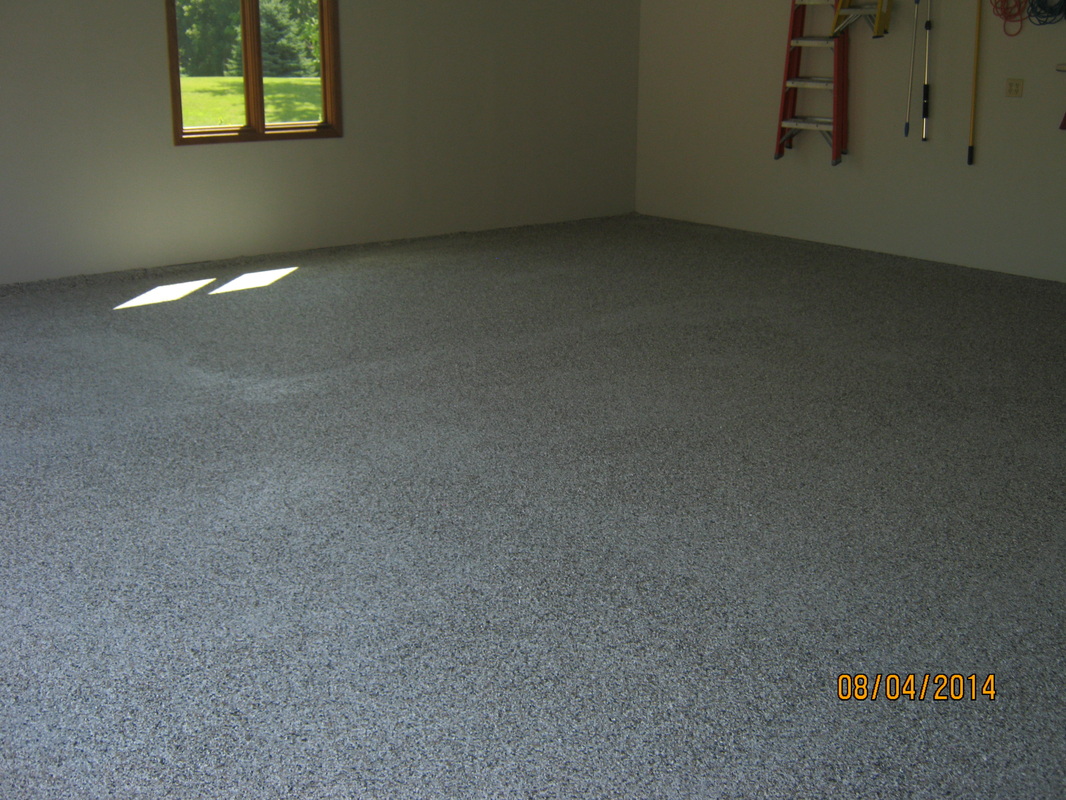
Day 4: One more inspection of the floor to ensure that any damaged areas that were treated are receiving the epoxy well. A final coat of clear epoxy completes the floor's durable finish.

We check back on the fifth day for a final inspection while your floor is in the two-day curing process before you may begin using it as usual again.
Yes, that is five layers to your high performance epoxy floor! Our professional epoxy floor installation ensures your floor will last for years to come.
Caring For Your Floor
We recommend Simple Green or another cleaner of your choice.
Use as instructed on bottle
Scrub any stains lightly with a nylon brush.
Soak 15 minutes, then rinse.
*For stubborn stains, use Simple Green at full-strength, scrub, and let soak for an hour. Rinse thoroughly.